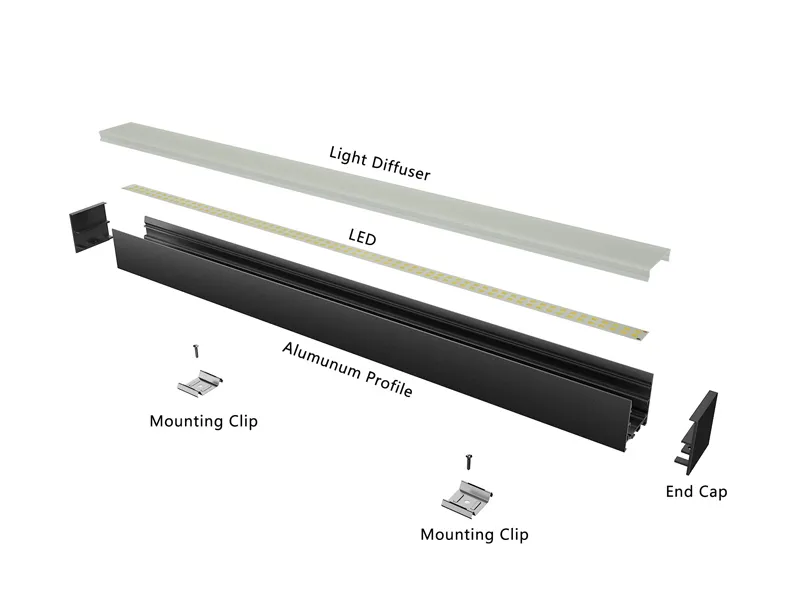
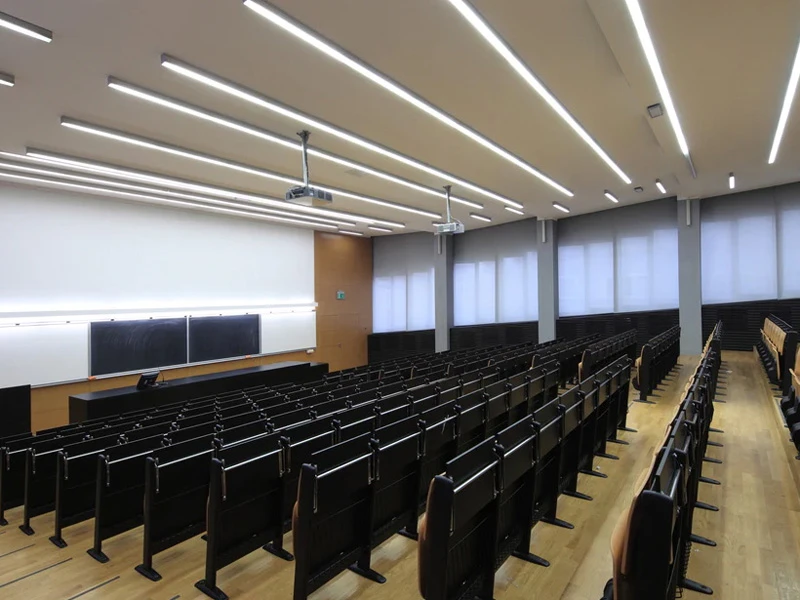
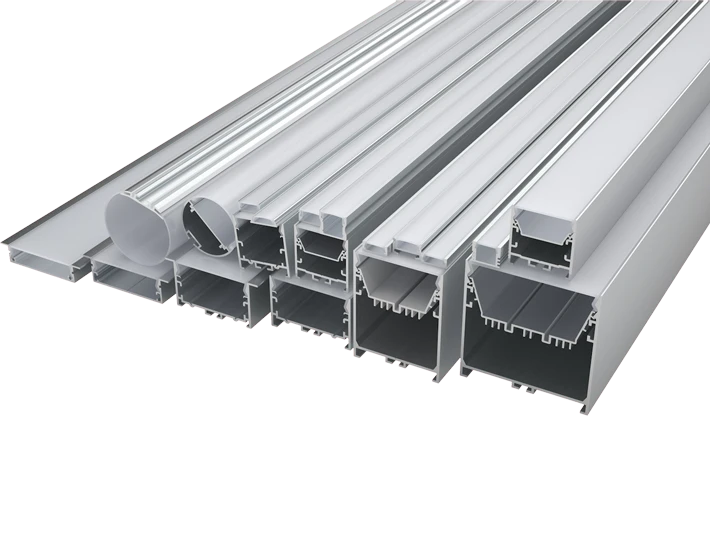
LED aluminum profiles are convenient lighting materials for linear lighting. They are extensively used in residential, commercial, office, and industrial areas. LED aluminum profiles provide ideal solutions for LED strip installation and linear lighting spaces. These LED profiles mainly consist of aluminum channels and strip light diffusers, offering a stylish, durable, and environmentally friendly appearance. However, how to install LED aluminum profiles, and what factors should be considered during the installation? In this article, we will discuss the installation of LED aluminum profiles in indoor environments.
The benefits of using LED aluminum profiles
When searching how to install LED aluminum profiles by the search engineer, you will get a lot of answers. And the answers to the benefits of using LED profiles are numerous. There are several critical benefits of using LED aluminum profiles. First, they work as LED strip light mounting channels to assist installation, the LED strip light diffusers of the aluminum profiles can achieve diffusion without LED dots and reduce glaring. Second, LED aluminum profiles provide housing and protection for LED strips, this keeps out dust, wet, and dirt. Third, they work as heat sinks and help improve LED strips’ heat dissipation and prolong the LEDs’ lifespan. Also, with the improvement of LED aluminum profiles, they can achieve different shapes and styles in lighting projects, giving a modern and ideal look to the space.
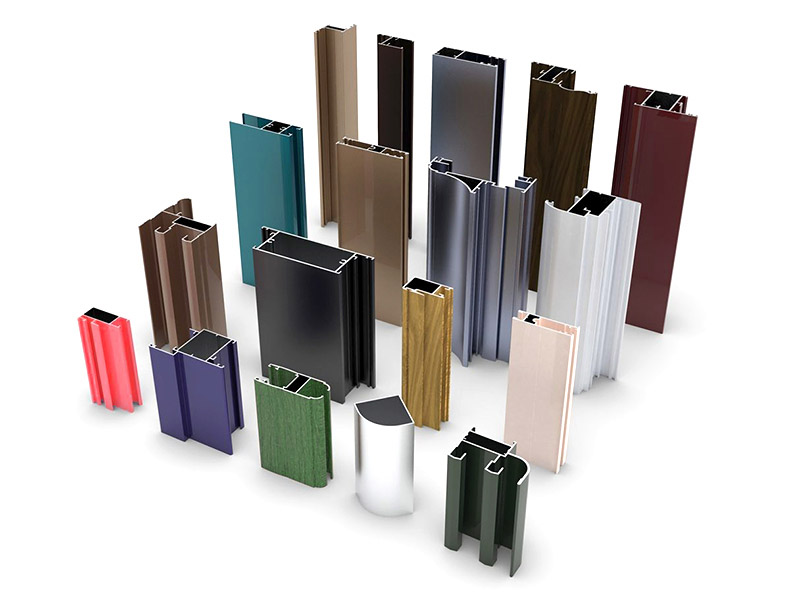
Different types of LED aluminum profiles
Before using LED aluminum profiles, you should have a general idea of the differences between LED profiles. Knowing this lets you choose the correct one for your LED lighting project without any mistakes.
Surface-mounted LED aluminum profiles

Recessed LED aluminum profiles

Suspended LED aluminum profiles

Plaster in LED profiles

Preparations
Step 1. Materials
LED strip, fast connectors, wires, and LED aluminum profiles. These materials should be prepared when we talk about installing LED aluminum profiles. The more you prepare, the better you will get.
Step 2. Cut LED aluminum profiles and LED strips into length
Check your lighting purpose and be aware of the aluminum profile length you want to use in your lighting project. Then cut the aluminum channels and LED strips into proper length, remember the LED strip has to be a little millimeter shorter than the aluminum channel.
Step 3. Soldering & Wiring
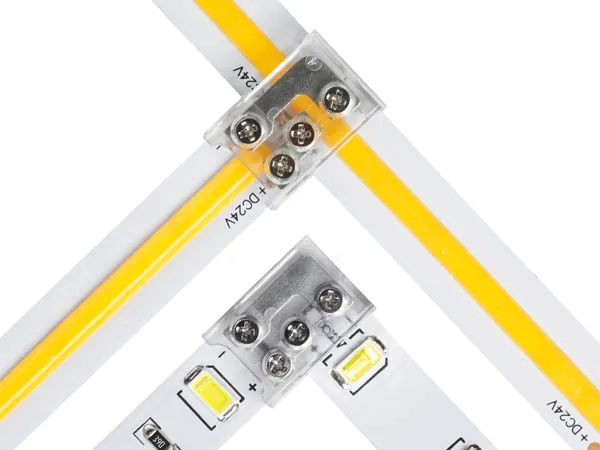
Choose proper wires with capable of taking heavy loads for the LED strips. Then solder the wires to the LED strips, and make sure the wires are soldered to the copper pad properly. Also, you can use fast connectors with cables to connect LED strips. This is a faster and safer way than traditional manual soldering.
Step 4. Assembling
Stick the LED strip inside the aluminum profile, put the strip light diffuser on top of the aluminum channel, and close the side end caps. Once you have done these steps, the last step is checking the completed LED strip light. Connect the LED aluminum profile light to your power switch. Check if it is working correctly.
How to install LED aluminum profiles
Surface-mounted installation
For surface-mounted LED channels, people use two installation methods on their projects. The simple and fast one is using 3M double-sided tapes. A 3M double-sided tape is adhesive on both sides and you can stick the aluminum profile to different surfaces. Often 3M adhesive tape is used for slim pieces of aluminum channels. For wider and bigger-sized LED channels, mounting brackets are the better choice. In the preparation stage, we paste an LED strip into the aluminum channel, solder the wires, and close the end caps to make it a finished profile light before installation. Now we can easily go with installation.

3M tape installation
- Clean the surface where you are going to install the finished LED channels
- Adhere the 3M tape to the bottom of the LED channels
- Adhere the LED channels to the object’s surface
Mounting brackets installation
- Drill holes on the object’s surface for the brackets.
- Fix the brackets with screws.
- Using two brackets for a 1-meter length aluminum channel, snap the aluminum channel into the brackets.
Recessed Installation
The recessed aluminum profiles create a flush and tidy look for the environment. They can be used for ceilings, cabinets, furniture, etc. The installation of recessed aluminum profiles can be a little complicated process compared with surface mounting ones. People have to make grooves for the recessed profiles and measure carefully on sizes. One simple way of fixing the aluminum profile light into a groove is by using glue or 3M adhesive tape, another way is to use clips to fix the aluminum profile light in the grooves.

Main steps
- Measure the width, height, and length of the aluminum profile light, and make sure the thickness of the end caps should be included in the length.
- Use tools to cut grooves with consistent height, width, and length of the profile light.
- Use glue, 3M adhesive tape, or clips to fix the aluminum profile light.
Suspended installation
Suspended LED profiles are designed to hang from the ceiling or any overhead places. The structure of the suspended led profiles is comprehensive, some are designed to leave an inside space for the LED drivers, and the aluminum profile’s back has to be designed with slots for suspension wires. Every unit of the pendant material has to be assembled into a suspended linear light before hanging. After that, the steps will be simple for installation.

Main steps
- Determine Installation Location. Mark the installation locations on the ceiling or other appropriate surfaces based on the design requirements and lighting plan.
- Install suspension devices. Install the suspension hook, wires, or chains, and make sure the suspension devices are sturdy and able to support the weight of the linear lights.
- Gently hang the linear lights on the suspension devices, ensuring they are securely suspended in the air.
- Adjusting and testing. Adjust the position and height of the linear lights ensuring they coordinate harmoniously with the surrounding environment and other lighting fixtures. Connect the linear lights to the power supply and turn on the power switch to test whether the lights are functioning properly.
Plaster in installation
Built-in LED profiles in plasterboard, drywall, or ceilings are becoming popular. Unlike recessed led channels, these plasterboard LED profiles must be pre-installed into the groove during construction. Use a putty knife to apply the plaster mixture to the LED channel from one end to the other end, and ensure the plaster fills the channels evenly and completely, then smooth out the surface to create a uniform finish.

Main steps
- fixing the plaster profiles into the pre-cut grooves
- apply the plaster mixture to the led profiles to create a uniform finish.
- paste the LED strips into the plaster profiles and test the LED strips ensuring they are functioning properly.
- cover the light diffuser on top of the profiles and allow the plaster to dry.
Conclusion
LED aluminum profiles have versatile installation options, including surface mounting, suspension, recessed, or built-in methods. Often small accessories are designed to be associated with LED aluminum profiles to ensure a convinenet and safe installation. It’s important to know the installation methods of different LED profiles to guarantee a perfect lighting project. How to install LED aluminum profiles? Have you got the ideas?

