


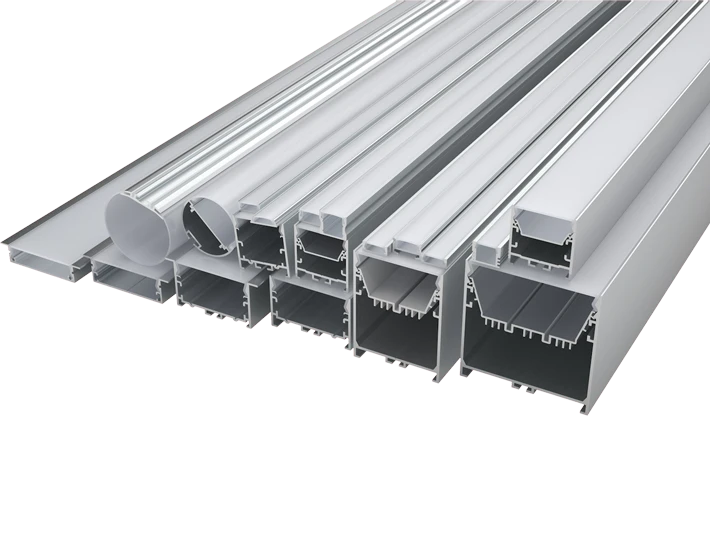

A high-end lighting installation needs to be very precise. Standard LED aluminum profiles are usually made in lengths of 2m, 2.5m, or 3m (some industrial extrusions can be as long as 6m), but projects in the real world often need exact adjustments made on site.
To get a professional look and fit a diffuser without any gaps, you need to make sure the cut is clean and free of burrs. Based on our 13 years of experience in the industry at TANGOO, we’ve put together a list of the most important steps and technical details for cutting LED profiles well.
1. How to Measure Correct Length and Leave the Expansion Gap
It is very important to measure the installation groove or mounting surface before cutting LED profiles. In business-to-business (B2B) work, where tolerances are strict, the “measure twice, cut once” rule stops wasting money on materials.
The Expansion Gap is a pro tip: The LED profile should always be 1–2mm shorter than the groove itself. Aluminum has a linear thermal expansion coefficient, which means that the metal gets a little bigger when the LED strip gets hot. This little space keeps the profile from bending and lets the end caps sit flat on the wall or cabinet.
2. Pro Tips for Marking and Synchronized Cutting (Aluminum + Cover)
Once you know the size, use a fine-tip permanent marker or a carpenter’s pencil to draw a clear line on the aluminum surface where you want to cut.
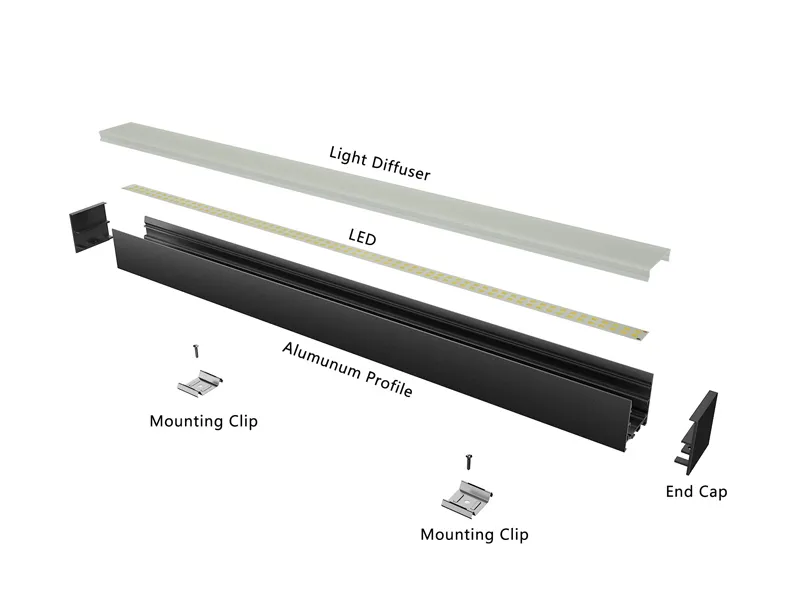
The “Dual-Cut” Method: Cutting the aluminum housing and the PC diffuser (plastic cover) separately is one of the most common mistakes. Cutting plastic and aluminum apart often makes the cover a little longer or shorter, which lets light through. This is because the two materials have different densities. We suggest putting the cover into the profile and cutting them both at the same time. This makes sure that the edges line up perfectly and that the diffuser stays structurally during the cut.
3. Choose the right Cutting Tools for Your Project
The tool you choose will affect how fast and how well the finished product is. You should think about the following based on the size of your project:
Hand Saw (For Making Changes in the Field): Best for small projects or quick changes on the job site. Use a hacksaw blade with 32 teeth per inch (TPI) that is made for non-ferrous metals. This makes a slow but controlled cut with very little deformation.
Professional contractors need a miter saw or circular saw for big jobs. A miter saw is a must-have for big jobs. The blade, on the other hand, is the most important thing. You need to use a Non-Ferrous Metal Blade, which usually has 80 to 100 teeth. Carbide-tipped blades are better because they stay sharp longer and make an edge that looks like it came from the factory.
4. How to Make Perfect 45-Degree Miter Cuts for Corners
Straight cuts aren’t enough for professional architectural lighting, like rectangular ceiling frames or cabinet corners. You will need to make miter cuts.
Accurate Angles: Set your miter saw to a 45 degrees. Make sure the profiles are mirrored correctly when you cut for a corner.
Seams that are tight: If the saw depth allows, cut both profiles at the same time to get a “seamless” look where they meet. This makes sure that any small change in the angle is the same on both pieces, which makes a joint that is light-tight and doesn’t need a lot of caulking.
5. How to Fix the Profile Properly to Avoid Scratches
The main reason for jagged edges or “chatter marks” is vibration. Use professional clamps to hold the LED aluminum profile tightly to your workbench.
Keeping the Finish Safe: Anodizing or powder-coating is common for high-end LED profiles. Put a soft cloth, masking tape, or a piece of cardboard between the clamp and the profile to keep these high-end finishes from getting scratched. High-end clients and architects want a contractor to pay attention to the small things.
6. Smoothing the Edges: How to Remove Burrs Safely
Even the best saw can leave “burrs,” which are tiny, sharp pieces of metal. These are not just a problem with how they look; they are also a safety risk.
To make the edges smooth, use a small metal file or medium-grit sandpaper (200–400 grit). It’s very important to get rid of internal burrs because sharp metal pieces can cut through the fragile PCB of the LED strip lights while they’re being installed, which can cause a short circuit or the lighting system to fail early.
7. Common Mistakes You Should Avoid (Save Your Materials)
Don’t push the cut; let the saw do its job. If you push too hard on a hand saw or miter saw, the thin walls of the aluminum extrusion can bend.
Not paying attention to the Diffuser Material: Some cheap PC covers are fragile. If you see cracks, put a layer of masking tape over the cut line before you saw to add extra surface tension and stop the wood from splintering.
Cutting Without Thinking About End Caps: Keep in mind that end caps add 2 to 4 mm to the total length. If you don’t take this into account, the finished fixture might not fit in the pre-drilled hole.
8. Conclusion
Cutting LED aluminum profiles might seem easy, but the details make the difference between a bad DIY job and a great commercial installation. These include the choice of blade, and how carefully the deburring process is done. TANGOO is a top LED profile maker, and we are dedicated to helping our customers get the best results. Our extrusions are made to be easy to work with and last a long time. Our technical team is here to make sure that your lighting solutions are installed to the highest professional standards, whether you are in charge of a big commercial build or a custom home project.

